

Cart
0
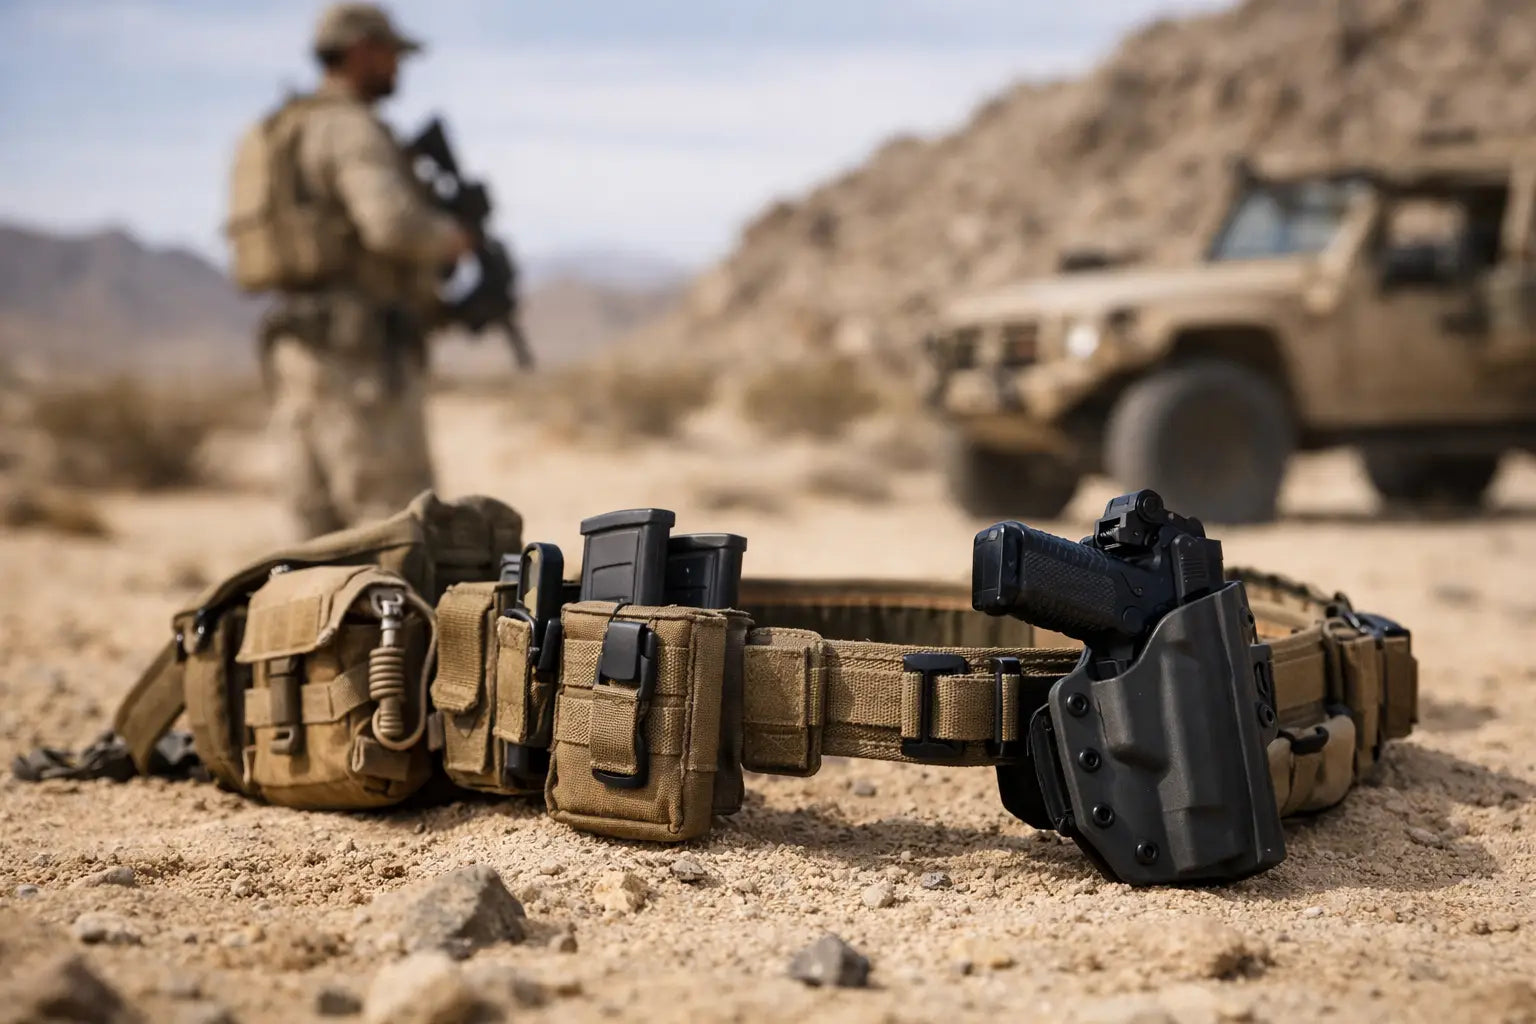
A tactical belt that works in a cool indoor range can become a liability by noon on Arizona rock and sand. Heat, sweat, dust, vehicle seats, and long walks expose weak buckles, sagging webbing, and overloaded pouches fast. The best tactical belt setups are not built around carrying the most gear. They are built around carrying the right gear securely, comfortably, and where you can reach it without looking.
For desert travel, range use, and off-road work, the right setup starts with your actual job. A belt for a short training session should not be loaded like a belt intended for remote recovery work or a full day away from the truck. Start light, place essentials deliberately, and add capability only when there is a clear need.
Start With a Belt That Will Not Fold Under Load
The foundation is a stiff, purpose-built outer belt paired with a solid inner belt or a durable everyday belt, depending on the system. A thin fashion belt and clip-on accessories are a poor match for movement, heat, and repeated use. They twist, ride up, and allow gear to shift just when you need it stable.
Look for reinforced nylon webbing that holds its shape without feeling like a board around your waist. Good tactical belts balance vertical stiffness with enough flexibility to sit, drive, climb, and bend. In the desert, that balance matters. You may spend an hour walking a wash, then climb into a truck, then kneel on uneven ground. A belt that feels fine standing still can become miserable during all three.
Buckle choice is mostly about security and convenience. A proven metal quick-release buckle is a strong option for duty-style loads and frequent on-off use. A low-profile buckle can make more sense if the belt needs to fit under a shirt, pack waist belt, or vehicle seat belt. Avoid oversized hardware if it interferes with sitting or concentrates pressure at the front of your hips.
A two-piece belt is usually the best answer for dedicated range and field use. The inner belt threads through your pants belt loops, while the outer belt attaches securely over it. This prevents the outer belt from sliding around as you move. For occasional use, a reinforced single belt can work, but it will generally offer less stability once you add multiple pouches.
Best Tactical Belt Setups by Use Case
There is no single best loadout for every desert outing. The belt should serve the task, not turn into a cluttered display of equipment. These setups cover the most common needs without loading your waist with unnecessary weight.
Range Day Setup
A range belt should emphasize safe access, repeatable placement, and comfort over several hours. Keep the layout clean: holster or primary tool on the strong side where applicable, support equipment on the opposite side, and a compact medical kit placed where either hand can reach it.
The key is consistency. Set up the belt the same way each time so you do not have to search for gear under stress or while wearing gloves. If you use a holster, choose one designed for the specific platform and make sure it offers proper retention. The holster should keep equipment secure during movement while still allowing a controlled draw.
Leave room at the back of the belt. A large pouch directly over the spine is uncomfortable in a vehicle and can be a problem during a fall. Slightly off-center placement is usually more practical.
Desert Vehicle and Overland Setup
For off-road travel, the tactical belt is best used as a grab-and-go layer, not as a replacement for the truck's recovery kit, water storage, or first-aid bag. Your belt should carry the items that remain useful if you have to step away from the vehicle to scout a route, check a tire, hike for signal, or deal with a minor problem.
A compact flashlight, folding knife or multitool, communication device, navigation backup, and small medical pouch are sensible priorities. In hot country, sun protection and water matter more than another pouch. Keep a wide-brim hat, water, and larger supplies in a pack or vehicle, then use the belt for immediate-access tools.
This is where modular pouches earn their place. Choose low-profile, tightly mounted designs that do not snag on door frames, brush, or seat belts. A tall pouch may carry more, but it can make getting in and out of a cab irritating all day. The best vehicle belt setup stays close to the body and does not interfere with your ability to sit.
Hiking and Remote Field Setup
A hiking belt needs to coexist with a backpack. That changes the equation. Bulky rear pouches fight with a pack's hip belt, while large side pouches can rub against your arms during a long stride. Keep the tactical belt slim and reserve its space for a few items that must stay on your person even when the pack comes off.
A compact medical kit, small light, cutting tool, phone or communication device, and a navigation tool are a practical baseline. If your route takes you into remote country, consider how you would manage an injury, unexpected delay, or separation from your pack. The answer is not always more belt gear. Often, it is better packing discipline and a few critical items carried in the same place every time.
Work and Property Setup
For ranch work, property maintenance, or repeated outdoor tasks, durability and easy access matter more than a competition-style layout. Build around the tools you use every day: gloves, light, multitool, radio, marker, and a compact medical pouch. A dump pouch can be useful for hardware, trash, collected brass, or small parts, but choose a fold-flat model so it does not catch on equipment when empty.
This setup benefits from a simpler belt with fewer attachment points. Every extra pouch adds heat, weight, and a place for dust to collect. If a tool is only needed once a month, it likely belongs in the truck or shop rather than on your waist.
Build the Belt Around Balance and Reach
A loaded belt should feel balanced before it feels impressive. Put the heaviest items close to your hips rather than hanging them at the far edges. Spread weight from side to side, and avoid stacking all of it on one side. An uneven belt will pull your pants, torque your lower back, and shift as you walk.
Think in zones. The front needs to stay relatively clear for bending, climbing, and sitting. Your sides are the easiest places to reach and usually the best location for frequently used gear. The rear corners can hold compact pouches, but avoid putting hard objects directly on the spine.
Test your layout before relying on it outdoors. Walk, jog lightly, climb into your vehicle, sit for ten minutes, kneel, and reach for each item with both hands. If a pouch shifts, pinches, blocks a seat belt, or catches when you exit the truck, fix it before the next trip. A setup that only works while standing in front of a mirror is not field-ready.
Desert Conditions Change What Matters
Heat changes how gear rides. Sweat can loosen a belt over time, while dust works into hook-and-loop closures, buckle channels, and pouch hardware. Check attachment points regularly and clear grit before it becomes packed in place. After a dusty trip, shake out pouches, wipe down hardware, and inspect stitching for abrasion.
Material color is a practical choice, not just a style decision. Tan, coyote, ranger green, and muted earth tones generally fit Southwestern terrain and hide dust better than black. Black gear still works, but it can run hotter in direct sun and show pale desert dust immediately. More important than color is quality webbing, reinforced stitching, and hardware that does not crack or deform under repeated heat exposure.
Do not overlook clothing compatibility. A rigid belt can work poorly with thin hiking pants that have narrow loops. Check loop width, pant rise, and whether your shirt or outer layer will catch on gear. If you switch between trail pants, jeans, and range pants, test the system with each one instead of assuming the fit will carry over.
Keep Medical Gear Accessible and Realistic
A compact individual first-aid kit is one of the most useful items on a tactical belt, but only if you know what is inside and can reach it quickly. Place it where either hand can access it, and avoid burying it behind a large pouch. Labeling or a clearly recognizable pull tab can help if someone else needs to find it.
Choose medical supplies appropriate to your training and planned activity. Desert travel also calls for basic considerations beyond trauma supplies, including hydration, blister prevention, and protection from heat exposure. The belt is not the place for every medical item. It is the place for immediate-access essentials while larger supplies remain in your pack or vehicle.
Buy Less Gear, Then Test It Hard
The best tactical belt setup is the one you can wear for a full day without constantly adjusting it. Start with the belt, one critical-use pouch, and the tools you use most. Run that layout through real movement before adding anything else.
Arizona Desert Gear customers know that desert equipment earns its place through use, not appearance. Keep your belt lean, stable, and matched to the conditions ahead. When the trail gets rough or the temperature climbs, simple gear that stays put is the gear you will trust.

