

Cart
0
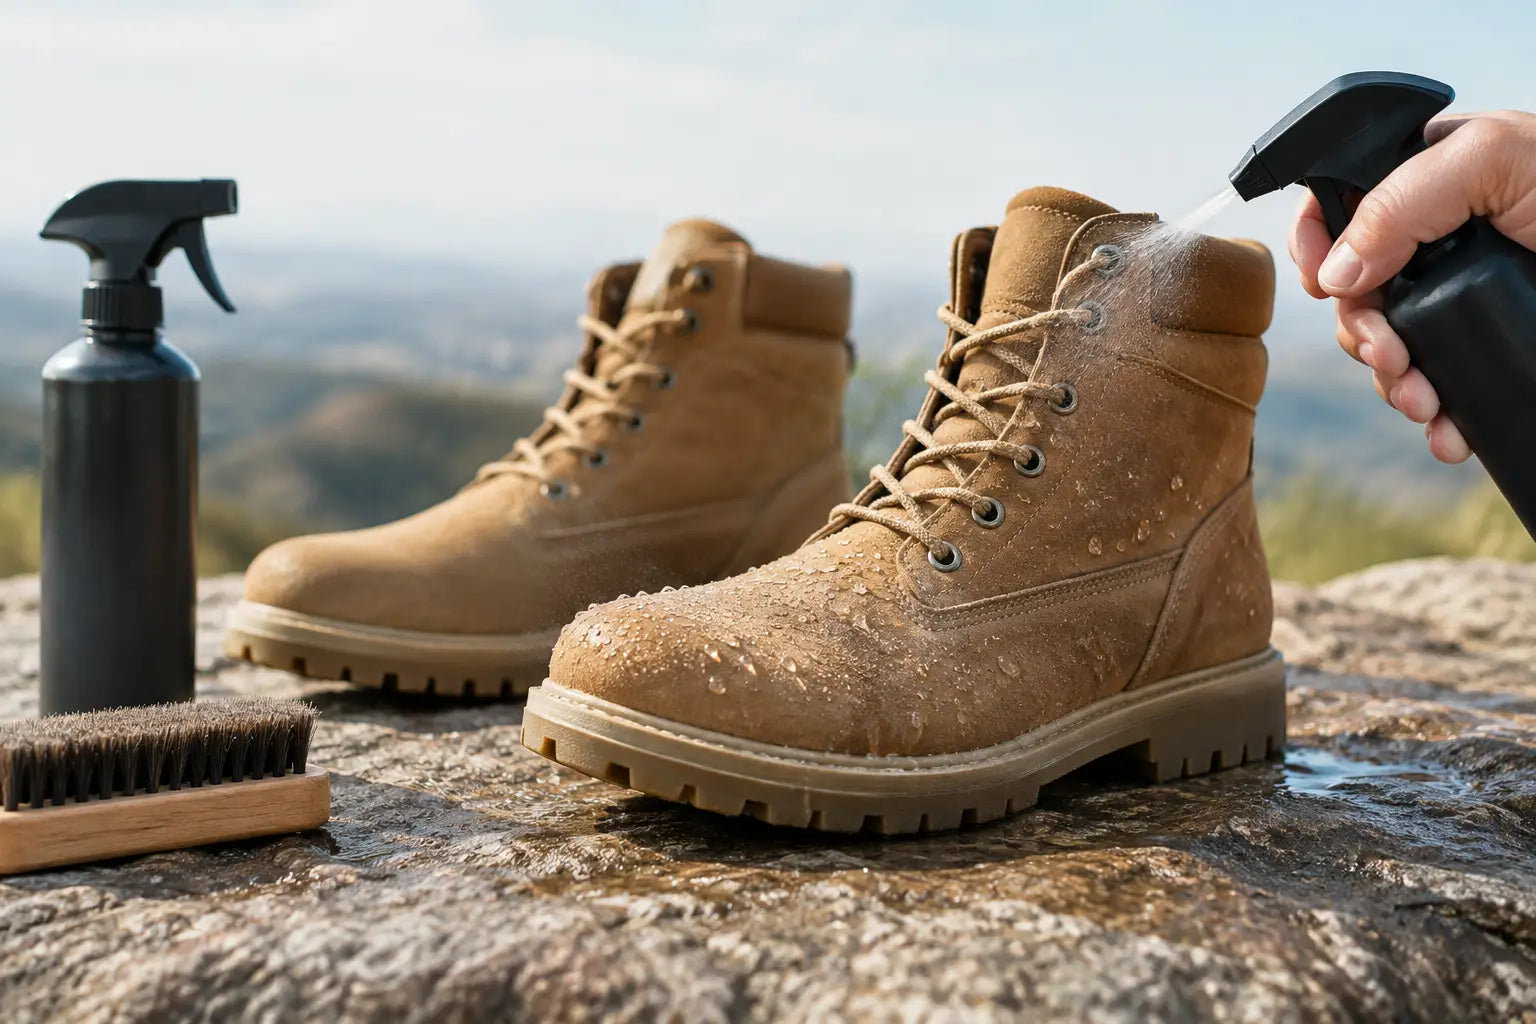
A desert boot is built to breathe, shed dust, and stay comfortable when the ground is hot enough to cook your boot soles. That does not mean it is ready for a creek crossing, monsoon downpour, muddy trailhead, or wet camp setup. Knowing how to waterproof desert boots means protecting them without turning lightweight, breathable footwear into hot, stiff, sweat-soaked gear.
The right treatment depends on what your boots are made of. Full-grain leather can handle a different product than roughout suede, nubuck, canvas, or a mixed-material tactical boot. Start with the material, use a treatment made for it, and accept the basic trade-off: more water resistance usually means less breathability.
Why Desert Boots Still Need Water Protection
Arizona boots spend plenty of time in dry conditions, but dry ground does not guarantee dry feet. Summer monsoons can turn hard-packed trails into runoff channels fast. Morning dew, wet grass, shallow washes, vehicle recovery work, and camp chores all put moisture into boot uppers and seams.
Waterproofing also does more than block rain. A quality treatment helps prevent leather from absorbing grime, makes wet mud easier to brush off, and reduces the chance of stains setting into suede or fabric. For boots used around dust, caliche, and rough desert terrain, that added surface protection can extend the usable life of the upper.
Do not expect an external treatment to make every desert boot fully waterproof. If the boot has open mesh panels, a low collar, damaged stitching, or no waterproof membrane, water can still enter. Treatment improves water resistance. It does not replace a waterproof boot when you expect prolonged wet conditions.
Check What Your Desert Boots Are Made Of
Read the boot label or manufacturer care guidance before applying anything. The wrong product can darken suede, clog breathable fabrics, soften leather too much, or leave a slippery residue on the outsole.
Full-grain leather is the easiest material to protect. Wax, cream, and oil-based conditioners can provide strong water resistance, though heavy products often darken the leather and reduce breathability. They make sense for work boots and hard-use field boots where weather protection matters more than a factory-fresh appearance.
Roughout leather, suede, and nubuck need more care. These materials have a raised texture, and waxes or oils can flatten that finish and permanently change the color. Use a spray specifically labeled for suede, nubuck, or roughout leather. It will not create the same water barrier as heavy wax, but it protects the boot without ruining its intended finish.
Canvas, nylon, and mesh panels should get a fabric-safe water-repellent spray. These materials are common on tactical and hot-weather boots because they vent heat well. The downside is simple: no spray can seal open mesh as completely as treated leather. Treat it as weather resistance, not a license to stand in water.
What You Need Before Waterproofing Desert Boots
Set up in a shaded, well-ventilated area. Direct Arizona sun can heat the boot surface quickly, causing products to dry unevenly before they have time to absorb. Your boots should be completely dry before treatment begins.
Have a soft boot brush, clean cloths, mild boot cleaner if needed, the correct waterproofing product, and clean laces ready. For suede or nubuck, use a brush designed for that material. For leather, a horsehair-style brush or soft nylon brush works well.
Avoid household shortcuts. Cooking oils, petroleum jelly, silicone caulk, and random automotive sprays do not belong on quality boots. They can break down adhesives, attract dust, interfere with future cleaning, and leave the upper looking worse than when you started.
How to Waterproof Desert Boots Step by Step
1. Clean off dust, salts, and old mud
Waterproofing products need direct contact with the material. If you spray or wax over trail dust, you trap that grit against the upper and get uneven coverage.
Remove the laces so you can reach the tongue, eyelets, and flex points. Brush the whole boot, including the welt or sole edge where dirt tends to pack in. If the boots are heavily soiled, clean them with a product suitable for the upper material, then wipe away residue with a damp cloth.
Do not soak desert boots during cleaning. Too much water can loosen dried mud into seams, extend drying time, and leave leather stiff. Use only as much moisture as needed to lift dirt.
2. Let the boots dry naturally
Leave boots at room temperature or in a shaded, moving-air location until fully dry. Pull the tongue forward and remove the insole if the interior got wet. Stuffing the toe lightly with plain paper can help absorb moisture and maintain shape.
Do not place boots on a heater, next to a campfire, or in direct sun. High heat can crack leather, shrink or warp synthetic components, and weaken glued construction. Desert heat is already hard on footwear. There is no reason to add more of it.
3. Apply the right treatment in light, even coats
For leather wax or cream, work a small amount into the upper with a clean cloth. Pay attention to toe creases, stitching, the tongue gusset, heel seams, and the area where the upper meets the sole. Those are common leak points.
For suede, roughout, nubuck, canvas, or fabric panels, hold the spray at the distance listed on the can and apply a light, even coat. Do not saturate one spot until it looks wet and glossy. Several light passes are more reliable than one heavy application.
If your boot combines leather with nylon or mesh, use products compatible with each material. A leather conditioner should stay on leather panels. A fabric water-repellent should cover the textile areas. Treating a mixed-material boot correctly takes a few extra minutes and avoids unnecessary damage.
4. Give the treatment time to cure
Most waterproofing products need several hours, and some need overnight curing, before the boots perform properly. Keep them out of blowing dust while they dry. A covered patio, garage shelf, or mudroom works better than leaving them outside.
After curing, flex the boot by hand and look for missed areas around the toe bend, seams, and tongue. Leather boots may benefit from a second thin coat, especially if they have been dry and neglected. Spray-treated suede and fabric boots may also need a second coat if the first one absorbed quickly.
5. Test the finish before your next trip
Drip or lightly mist clean water over the upper. On a properly treated surface, water should bead up and roll away instead of soaking in immediately. Check seams and flex points closely.
If the material darkens and absorbs water right away, clean the area again if necessary and reapply the treatment. Test before a wet overlanding trip or a backcountry hike, not when you are already miles from the truck.
Protect the Areas Most Likely to Leak
The upper material gets most of the attention, but water often enters elsewhere. The tongue is a frequent weak point. If it is not gusseted high enough, water can pour in from the top during a deep puddle or wash crossing no matter how well the boot is treated.
Inspect stitching, especially around the toe, heel, and sole edge. Frayed thread, separated seams, and cracked leather will not be fixed by waterproofing spray. Small problems are easier to repair before dirt and moisture reach the inside of the boot.
Also check the outsole. A worn sole does not cause leaks by itself, but poor traction makes wet rock, clay, and slick campground surfaces more dangerous. Water protection and reliable footing belong in the same maintenance routine.
How Often Should You Reapply Waterproofing?
There is no calendar that fits every pair of boots. Reapply based on use and performance. A boot worn occasionally for dry range days may need treatment only once or twice a year. Boots used for hiking, hunting, off-road travel, fieldwork, or monsoon-season chores may need attention every few months.
A simple test is better than guessing: when water stops beading and begins soaking into the upper, it is time to clean and reapply. Treating too often with heavy leather products can make boots overly soft and reduce their ability to breathe. With spray products, frequent light reapplication is usually the safer approach.
When Waterproofing Is Not Enough
For sustained rain, repeated stream crossings, or cold wet conditions, choose boots with a waterproof-breathable liner and a gusseted tongue. Even then, remember that water entering over the collar will soak the inside, and once the liner is wet from within, it takes time to dry.
In hot Southwest conditions, fully waterproof boots can feel warmer than ventilated desert boots. If your usual use is dry hiking, range work, or vehicle-based travel, a breathable boot with a fresh water-repellent treatment is often the better compromise. Carry dry socks in your vehicle or pack, and use waterproof footwear only when the conditions justify the heat penalty.
A well-treated pair of desert boots will not turn a flooded wash into easy ground, but it will keep a surprise storm or muddy camp from ending your day early. Clean them after the trip, let them dry out of the sun, and keep the treatment matched to the material. That is the kind of routine dependable gear earns.

